Release Time: Apr 21,2025
How to Install Flat Roof PV Brackets for Maximum Solar Exposure
How to Install Flat Roof PV Brackets for Maximum Solar Exposure
Table of Contents
- Understanding PV Brackets
- Benefits of Flat Roof PV Brackets
- Pre-Installation Considerations
- Tools and Materials Needed
- Step-by-Step Installation Guide
- Maximizing Solar Exposure
- Maintaining Your PV System
- Common Issues and Solutions
- FAQs
Understanding PV Brackets
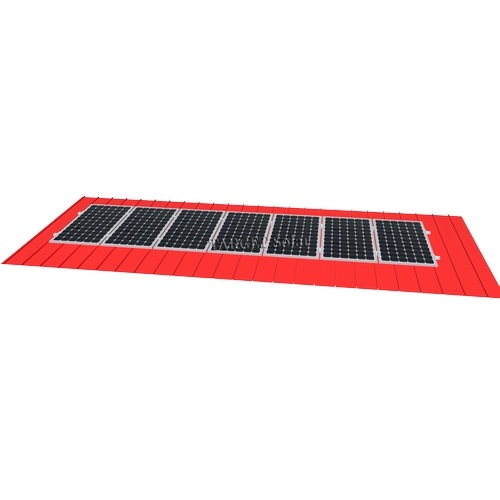
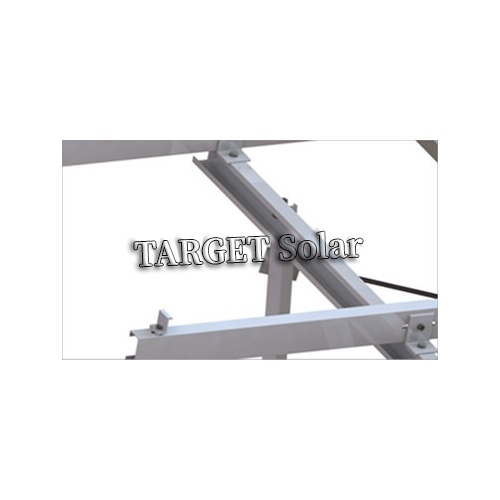
PV brackets serve as the foundation for solar panels, allowing them to be securely mounted on various surfaces, including flat roofs. These brackets are designed to withstand environmental stressors while ensuring that solar panels maintain the correct angle for optimal sunlight capture. Understanding the types of brackets available, such as adjustable, fixed, and ballasted systems, is crucial for selecting the right option for your installation.
Benefits of Flat Roof PV Brackets
Installing PV brackets on a flat roof offers several advantages:
- Improved Solar Exposure: Correctly angled panels can significantly enhance energy absorption.
- Space Efficiency: Flat roofs often provide ample space for multiple solar installations.
- Reduced Wind Resistance: Brackets designed for flat roofs can be engineered to minimize lift and ensure stability.
- Cost-Effectiveness: Flat roof installations can be less labor-intensive, leading to reduced installation costs.
Pre-Installation Considerations
Before diving into the installation process, several key factors must be assessed:
Structural Integrity
Ensure that your flat roof can support the additional weight of the solar panels and brackets. Consult a structural engineer if necessary.
Local Building Codes
Familiarize yourself with local regulations to ensure compliance with zoning laws and building codes governing solar installations.
Orientation and Tilt
Determine the optimal orientation and tilt for the solar panels based on geographic location, shading, and seasonal sun angles.
Tools and Materials Needed
Having the right tools and materials on hand will streamline the installation process:
- Tools: Drill, level, wrench set, measuring tape, safety goggles, and a ladder.
- Materials: PV brackets, solar panels, mounting hardware, sealant, and potentially ballast materials.
Step-by-Step Installation Guide
Step 1: Measure Your Roof
Start by measuring the available space on your flat roof. Ensure that you have enough room for the number of solar panels you plan to install while taking into account proper spacing for maintenance access.
Step 2: Mark the Bracket Locations
Using a chalk line, mark where the brackets will be installed. Ensure that these markings account for the optimal angle of tilt for each solar panel.
Step 3: Secure the Brackets
Drill holes into the roof surface as per your markings and secure the brackets using the provided mounting hardware. Apply sealant around the holes to prevent water ingress.
Step 4: Install the Solar Panels
Attach the solar panels to the mounted brackets following the manufacturer's instructions. Ensure all connections are secure and that panels are properly aligned.
Step 5: Connect Electrical Components
Connect the solar panels to the inverter and electrical grid according to local codes. Always follow safety guidelines and consult a qualified electrician if necessary.
Maximizing Solar Exposure
To ensure your solar panels achieve maximum exposure to sunlight, consider the following:
- Proper Tilt Angle: Adjust the tilt of your panels based on your geographic location for optimal sun capture throughout the year.
- Avoiding Obstructions: Regularly check for any shading from nearby trees, buildings, or other structures.
- Regular Maintenance: Clean the panels regularly to remove dust and debris that could block sunlight.
Maintaining Your PV System
Proper maintenance is essential to prolong the life and efficiency of your solar panel system:
Cleaning
Regularly clean the panels to remove dirt, leaves, and other debris. This can often be done with a soft cloth or sponge and soapy water on a non-windy day.
Inspection
Conduct periodic inspections of both the panels and brackets for any signs of wear or damage, especially after severe weather.
Common Issues and Solutions
Poor Electrical Connections
If your system is underperforming, check all electrical connections to ensure they are tight and secure. Loose wiring can lead to energy loss.
Water Leaks
Inspect the area around the brackets for any signs of leaks. If found, enhance the sealant and consider installing flashings for added protection.
FAQs
1. How do I determine the right tilt angle for my solar panels?
The optimal tilt angle can depend on your geographic location and seasonal sun path. As a general rule, you can set the angle to be equal to your latitude for year-round efficiency.
2. Can I install PV brackets on a membrane roof?
Yes, but it is vital to use appropriate mounting methods and materials that are compatible with the roofing membrane to prevent damage and leaks.
3. What is the lifespan of solar panels?
Most solar panels have a lifespan of about 25 to 30 years, with warranties often covering performance for 25 years.
4. Do I need a permit to install solar panels?
It typically depends on local regulations. Always check with your local building department to determine if permits are required for your installation.
5. How can I increase the efficiency of my solar panel system?
To boost efficiency, ensure panels are clean, free from obstructions, maintained regularly, and installed at the optimal angle and orientation.
Conclusion
Installing flat roof PV brackets for solar panels is a highly beneficial process that can maximize energy production and efficiency. By following our detailed guide, you will ensure your solar installation is secure, compliant, and optimized for maximum solar exposure. Regular maintenance and monitoring will also help prolong the lifespan and performance of your solar energy system. With the right knowledge and preparation, transitioning to solar energy can be both a rewarding and environmentally friendly decision.
Related News
May 07,2025
Exploring the Durability of Color Steel Tile Roof Photovoltaic Brackets: A Comprehensive Guide
May 01,2025
Understanding Ground-Mounted Photovoltaic Power Stations: A Sustainable Energy Solution
Apr 27,2025
Ground Photovoltaic Station Supports: Key Factors for Optimal Performance


